We have all heard the horror stories of dogs choking on small items, getting into dangerous medications, or being poisoned by spiteful neighbors.
Empower yourself and protect your pooch from these types of dangers by teaching the “Leave it” and “Drop it” commands that could one day save his life.

Note: Professional dog trainer, Jess Rollins, recommends spending just 15 minutes a day in 5 minute sessions working on these skills to prevent your dog from becoming bored or frustrated.
Teaching the “Leave It” Command
This is your first line of defense when trying to keep your dog away from something that could potentially cause him harm. It is also useful in protecting others from your dog in the case of pups that enjoy chasing bikers, joggers, squirrels, etc.
While there are several steps, don’t feel intimidated. Dogs are highly intelligent and eager to please. Chances are they will catch on quickly and the instructions account for slip-ups and minor setbacks.
Step One:
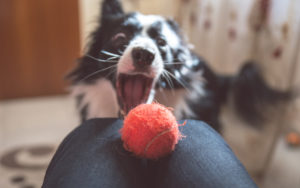
Place a desirable treat beneath the toe of your shoe where your dog cannot get it. Patiently allow him to sniff, lick and paw at your shoe until he gets bored and gives up.
At the moment the dog quits going after the treat, “mark it” with a word (“Yes” or “Good”) or use a clicker and offer your dog a different treat from your hand – never the treat beneath your shoe you’ve asked them to leave alone. Repeat until your dog has succeeded 5 times.
Next, add your cue. Say “Leave it!” firmly when your dog first shows interest in the treat under your shoe. Each time they turn away from the treat, reward them with a treat from your hand. Repeat until your dog has succeeded 5 times.
Step Two:
Put a treat on the floor, but be ready to cover it with your shoe. Tell your dog to “leave it.” If he goes for it, quickly cover it with the toe of your shoe. If he leaves it, reward with a treat from your hand. Repeat.
Step Three:
Drop a treat from a few inches off the floor. Ask your dog to “leave it” as it drops. If he leaves the treat, reward from your hand. If he snatches the treat, go back to step two. Repeat until your dog has succeeded 5 times.
Step Four:
Now it is time to try moving the treat away from you to see if your dog will still follow the “leave it” command. Roll a treat behind you between your legs while telling your dog to leave it. Mark and reward if he is successful. Repeat until your dog has mastered this step.
Step Five:
Try tossing the treats farther, faster and in different directions while giving the “leave it” command and mark/reward your dog’s successes. Repeat until your dog has mastered this step.
Step Six:
Before taking your dog for a walk, head out on the trail by yourself, planting treats or toys along the way. As you walk your dog, give the “leave it” command and reward him with a treat from your hand when he is successful. You may also start out in a less distracting setting, like your own backyard. Repeat until your dog has mastered this step.
Step Seven:
Start using your “leave it” on regular leashed walks. Try it first in quieter areas, asking your dog to “leave it” when you see anything interesting on the ground or approaching you. At this stage you want to always reward for your dog’s response to the cue. Work up to busier, more exciting walks.
Step Eight:
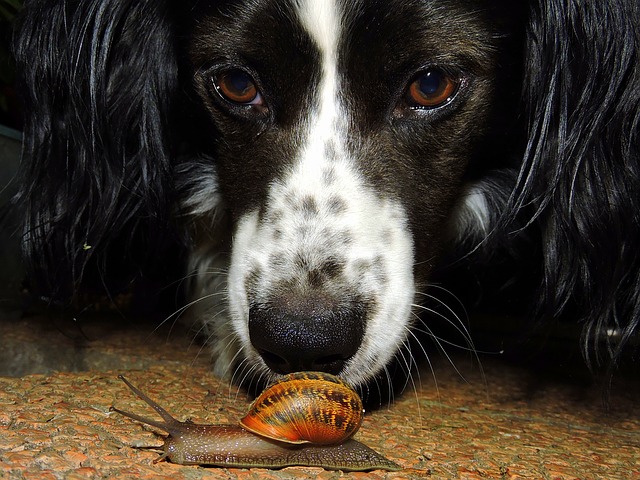
Try your leave it cue in a quiet off-leash area. You can try throwing a toy or simply ask your dog to leave alone things like other dogs and birds. The key is to ask your dog to “leave it” when they first notice and begin moving towards a target. If you say the cue too late (i.e., once your dog has gotten close to the target), your cue is less likely to work.
If your dog fails to respond, calmly leash them and stand still, holding them close to you for 30 seconds to 1 minute. Failure to respond to your cue results in temporary removal of your dog’s freedom.
Step Nine:
Try your “leave it” cue when your dog is off leash at a dog park or active off-leash area. Remember to say your cue when your dog first goes for something (not when they are fully in the middle of a chase) and to give them a short time out if they fail to respond.
Teaching the “Drop It” Command
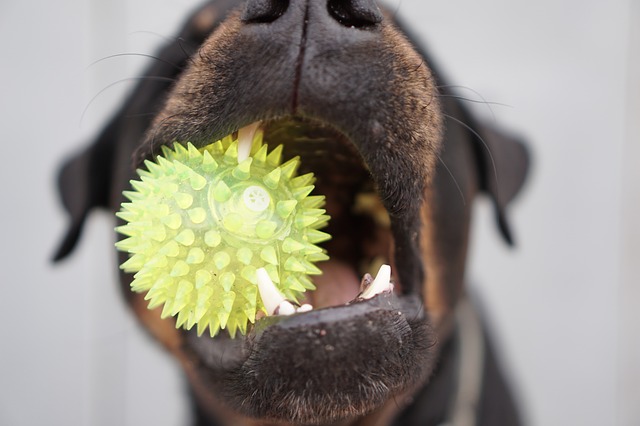
The “Drop It” command is useful when your dog has already gotten ahold of something before you had a chance to give the “Leave It” cue or when an item is so desirable he ignores the command altogether. Some people also find it helpful during play sessions when the dog is stubborn about releasing the toy or for dogs that resource guard.
1. Gather a few objects your dog might like to chew and some tiny treats, like cheese or turkey.
2. Have a piece of food ready in your free hand as you tempt your dog to chew on one of the items. Once he has his mouth on the object, put the treat very close to his nose and say “drop it”.
Praise him when he opens his mouth. Feed him the treat as you pick up the item with your other hand and return the item to him.
3. Try to get him to pick up the object again so you can continue practicing. If you have trouble getting him to pick up anther object, not to worry. In this case, keep a few treats handy throughout the day and whenever you see him pick up an object or toy you can ask him to “drop it” by following the instructions above. Aim for at least 10 successful “drop it” repetitions per day until you have completed all of the steps. Occasionally, you will not be able to give the object back to him (if he’s found a forbidden object), but that’s okay. Just be sure to give him an extra nice treat in those instances.
4. Once you’ve completed about 10 successful repetitions, follow the process in step 2 exactly, but this time be sneaky. Only pretend to have a treat in the hand that you bring close to his nose (I call this “empty fingers”). He will most likely be fooled and drop the object. Give him 3 treats the first time he drops the item when you show him “empty fingers”. Continue practicing until he will “drop it” for “empty fingers” consistently. This “empty fingers” motion is now a useful hand signal for “drop it”!
5. Now we will try to get him to drop a “tasty” item. Get a hard edible chew. Hold it in your hand at one end and offer the other end of the item to your dog – but don’t let go! Let him put his mouth on it and then say “drop it” while pretending to show him a treat. Give him 3 treats the first time he does this and try it again. If your dog won’t re-take the item, just put it away and practice another time. Practice this until he is dropping the item right away while you hold on to it.
6. Get your hard chew again and some small cubes of meat or cheese. This time, you will offer the chew to your dog, let go of it and then right away say “drop it” while pretending to show him a treat. When he does drop it, give him 10 of your meat or cheese cubes, and then give him the chew to keep! If he doesn’t release the chew, try showing him your treat first, and if that doesn’t work, just let him keep the chew and try again later with a not-quite-so-tasty chew. You will be able to build up to higher value items with practice.
7. Practice “drop it” with objects that interest him but he is not allowed to chew such as tissues, pens (with the ink removed), wrappers, shoes, etc. Then practice this outside with items like pine cones, rocks, sticks, leaves, animal poop, etc.
Tips:
- If your dog already enjoys grabbing objects and having a game of chase, you should begin by teaching him that you will not play chase with him. Ignore him when he runs away with an object and he will probably drop the item on his own once he is bored with it. If you must get the item right away, try distracting him by ringing the doorbell or knocking on the door. He will most likely drop the object in the excitement and you will then have an opportunity to retrieve it.
- If your dog will not drop a dangerous item, even when you offer a yummy treat or ring the doorbell, you will be forced to open his mouth to remove it. To do this, place your fingers on his lips behind his canines and pull his mouth open. You will now be able to retrieve the item. Make sure you give him a big reward for allowing this treatment and keep that dangerous item out of reach in the future until he is ready to use it during “drop it” training sessions.
H/T to Rover.com & Pet Expertise.com
via Whisker Therapy